
Shopify

WeGetFinancing offers two Shopify integrations: a checkout payment method (customers finance at checkout) and the PPE messaging widget (estimates shown on product/collection pages before checkout).
Before installing either app, ensure your WeGetFinancing account has been created and activated with at least one lender. If you don’t have an account yet, complete the signup form — our team reviews each request and helps you onboard.
The two apps live on the Shopify App Store:
- Checkout payment method — WeGetFinancing
- PPE messaging widget — WeGetFinancing Messaging
Checkout Payment Method
Section titled “Checkout Payment Method”The WeGetFinancing Payment App adds WeGetFinancing as a payment method at Shopify checkout.
Prerequisites
Section titled “Prerequisites”- WeGetFinancing account activated with at least one lender.
- An active Shopify plan with a Shopify store.
Installation
Section titled “Installation”-
Log into your Shopify Store admin backoffice.
-
Go to the WeGetFinancing app on the Shopify App Store and click Add app.
-
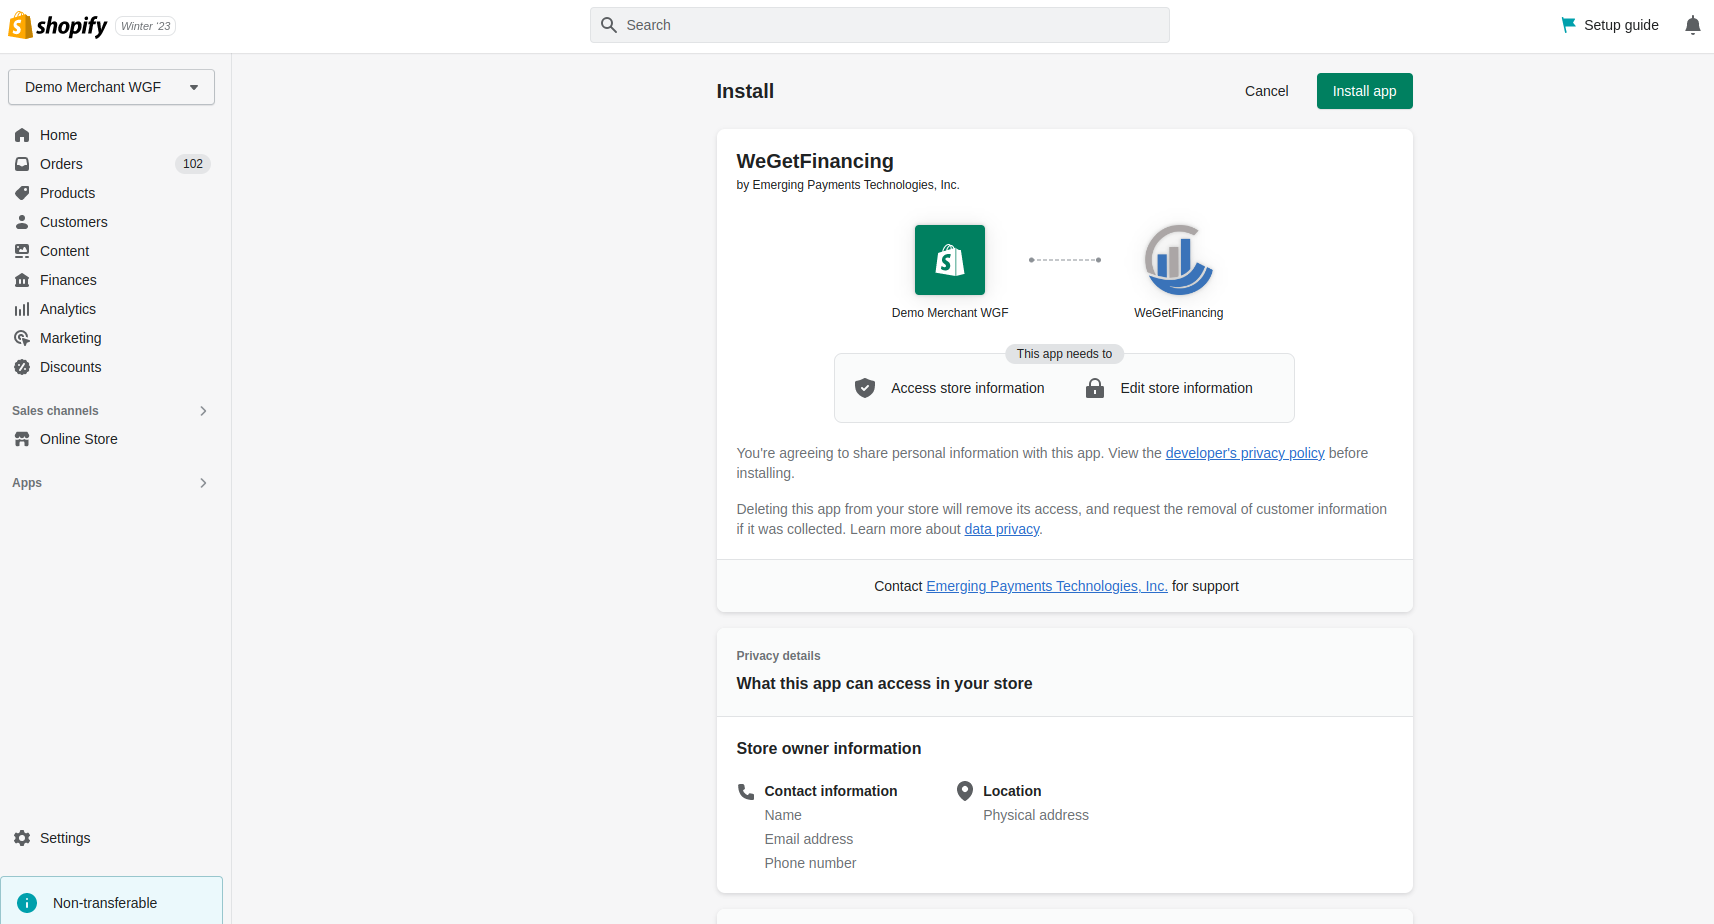
The installation opens a new tab with the Shopify Install page. Click Install App — you will be redirected to the WeGetFinancing login page.
-
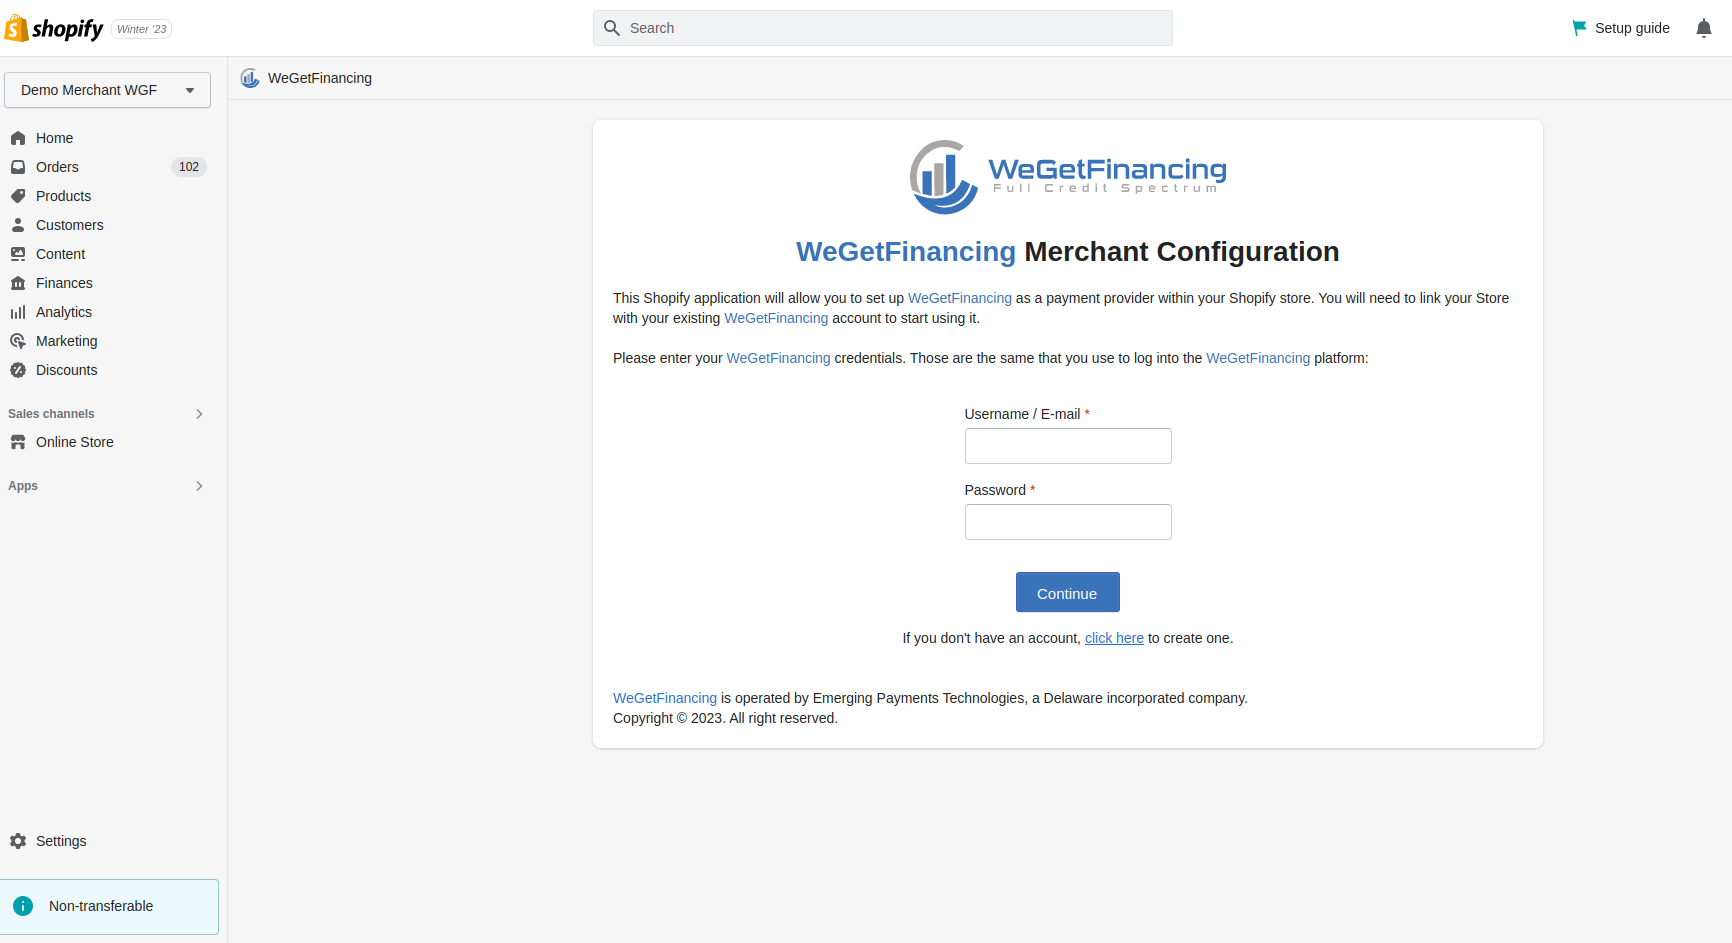
Enter your WeGetFinancing credentials and click Continue.
-
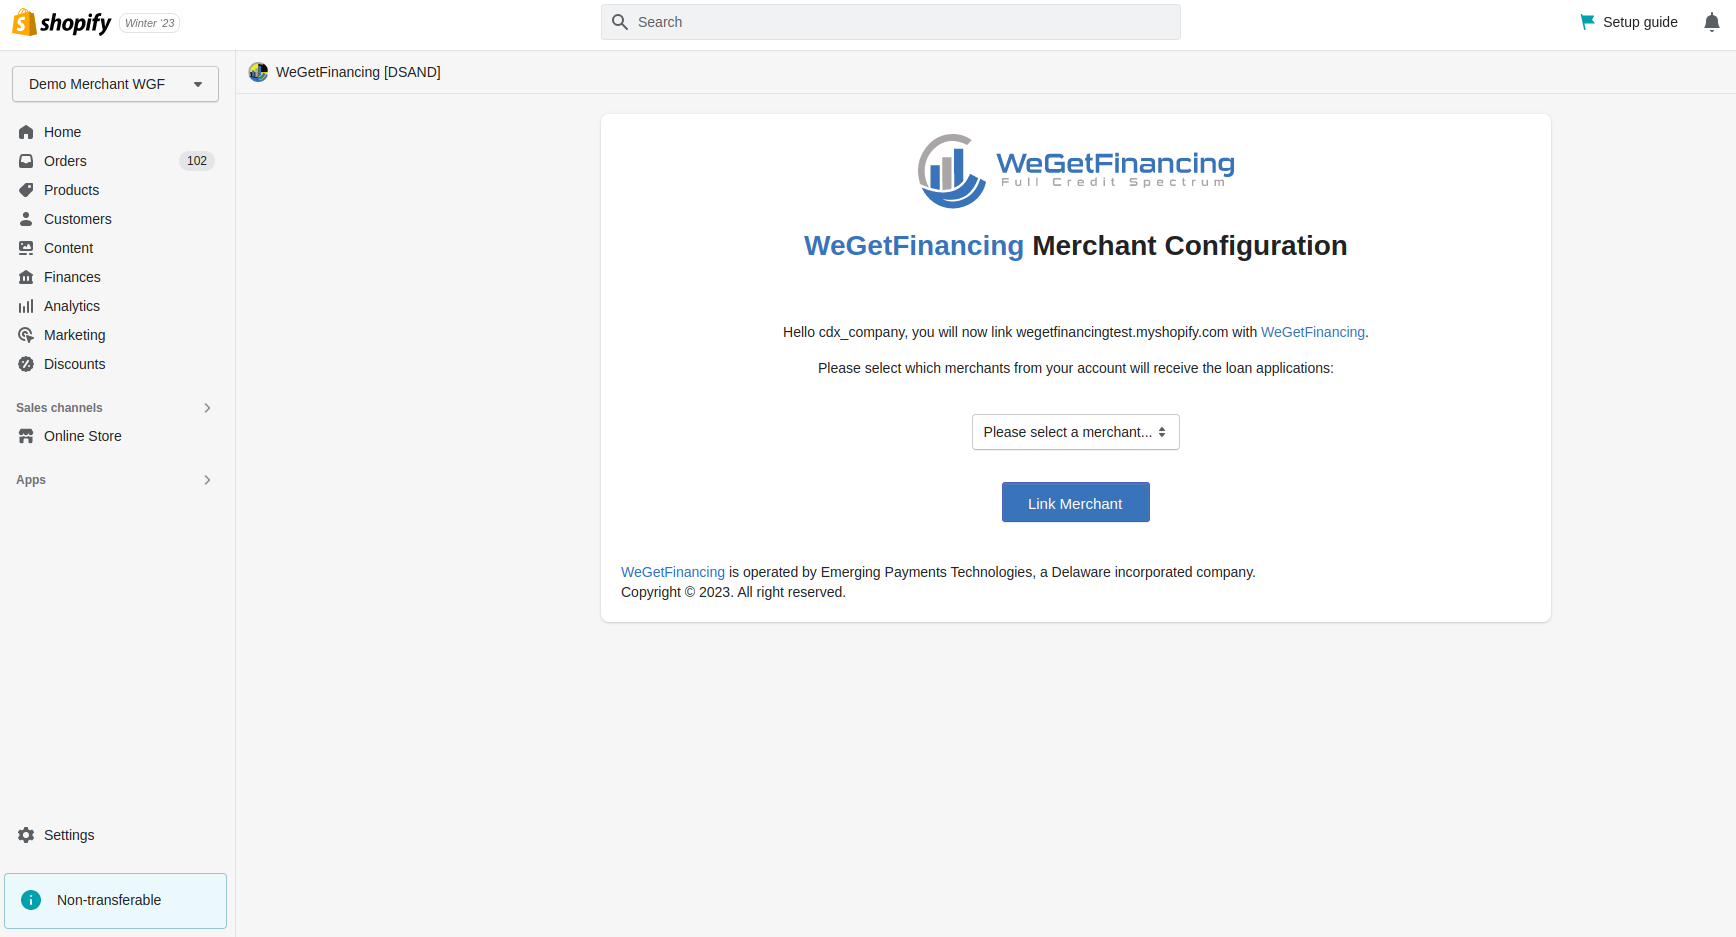
On the merchant selection page, select the merchant you want to link to this store and click Link merchant. Your own username and store domain appear in place of the example values shown here.
-
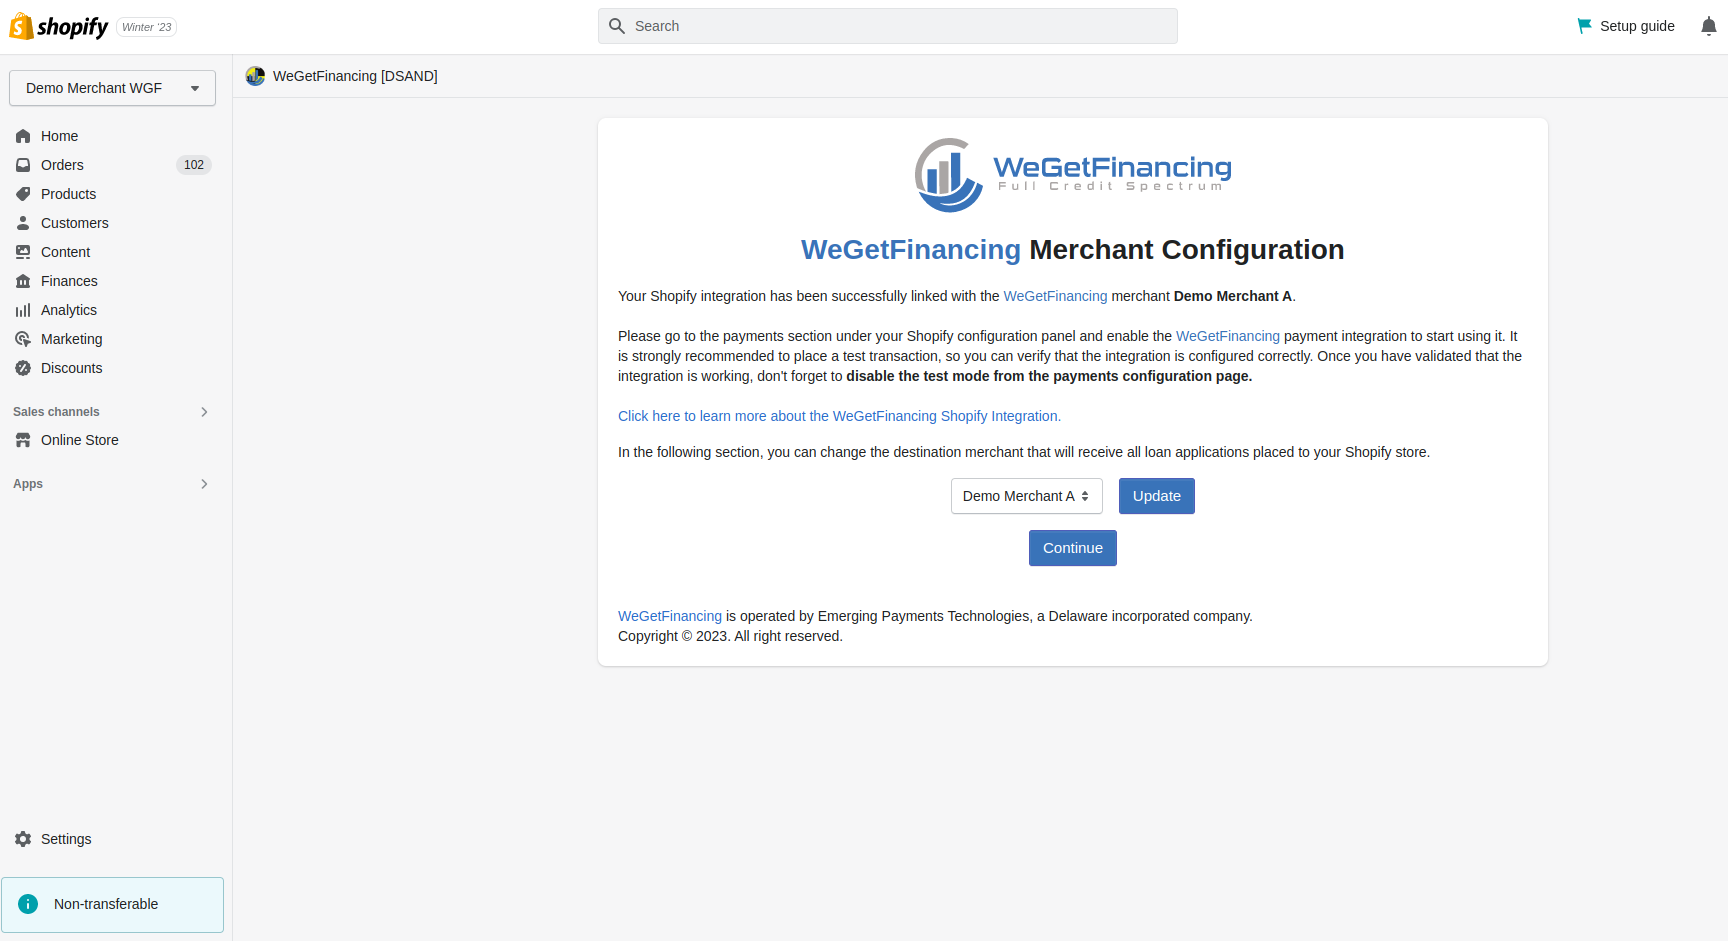
Review the confirmation page (your chosen merchant name will be shown). Click Continue to proceed to Shopify Payments settings.
-
In Shopify Payments settings, click Activate WeGetFinancing to complete the activation.
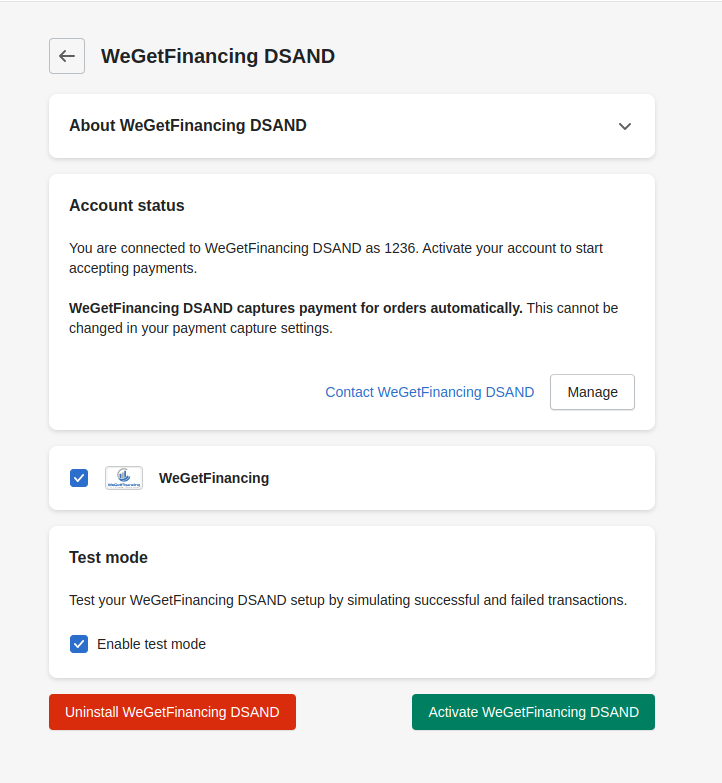
-
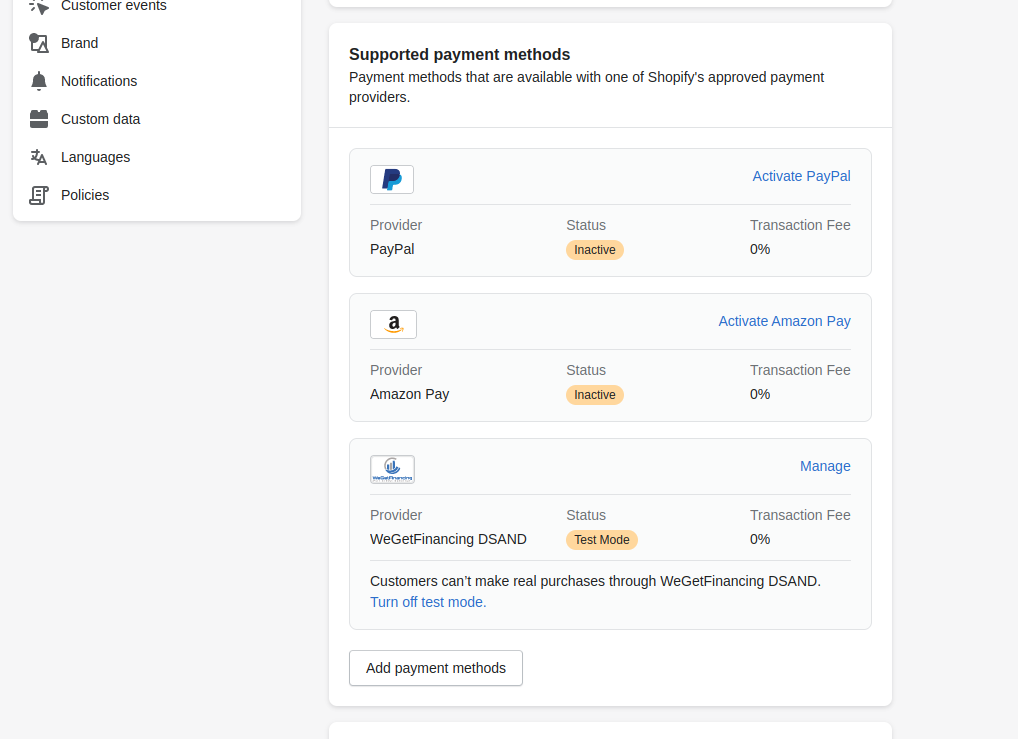
Under Settings → Payments, WeGetFinancing now appears as a payment method. Customers can select it at checkout.
PPE Widget (Purchase Power Estimator)
Section titled “PPE Widget (Purchase Power Estimator)”The WeGetFinancing Messaging app installs the PPE widget through the Shopify theme editor — no code editing required.
Installation
Section titled “Installation”-
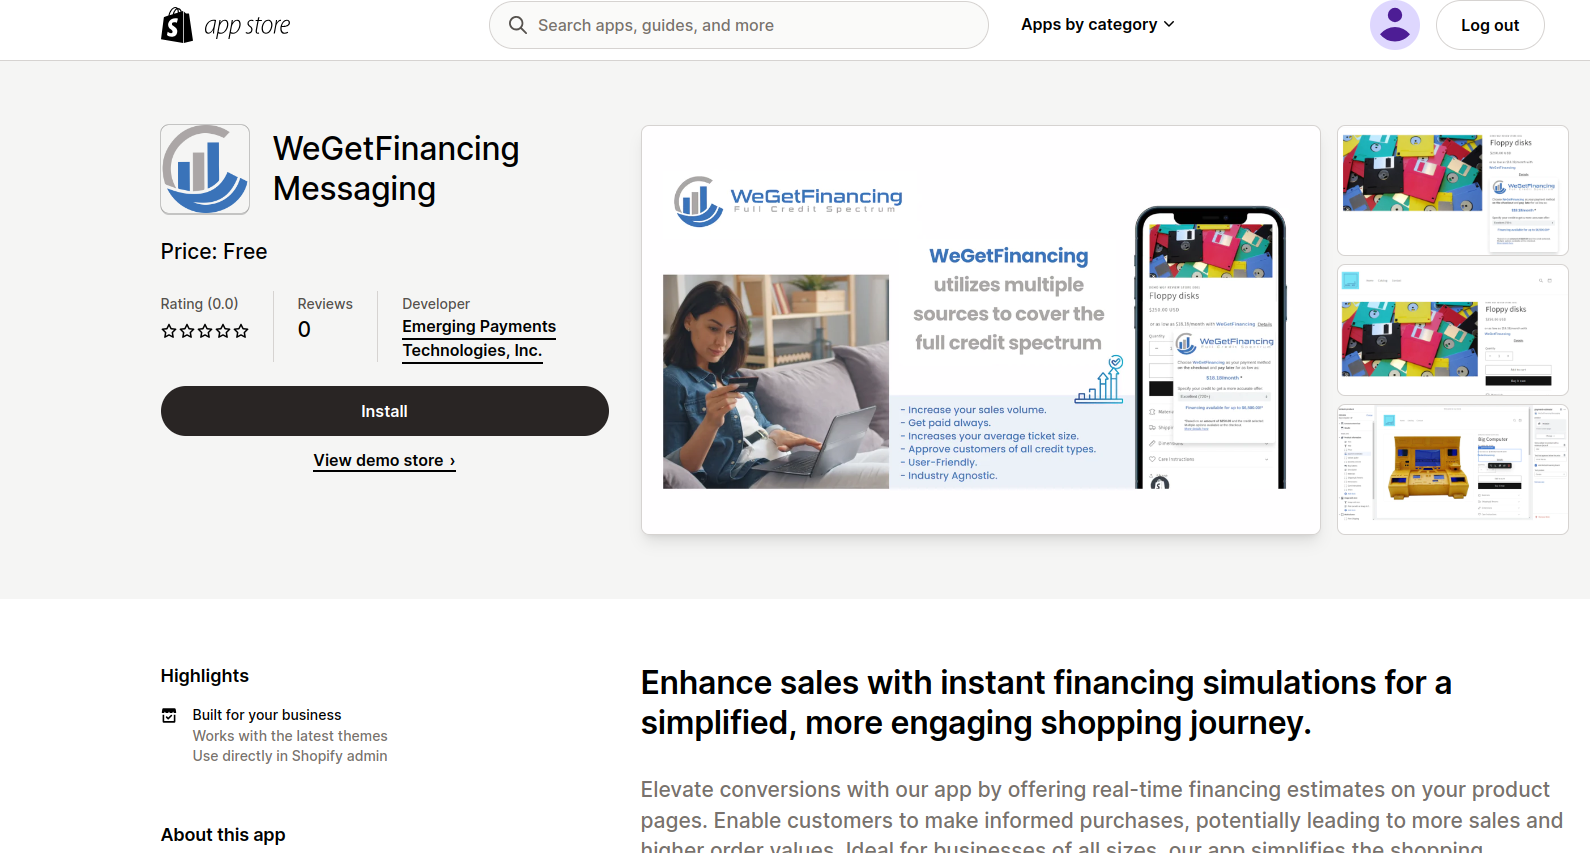
Open the WeGetFinancing Messaging app on the Shopify App Store.
-
Click Install on the app page.
-
Click Install App on the redirect page — you will be taken to the WeGetFinancing login page.
-
Enter your WeGetFinancing credentials and click Continue.
-
Select the merchant to link to this store and click Link merchant.
-
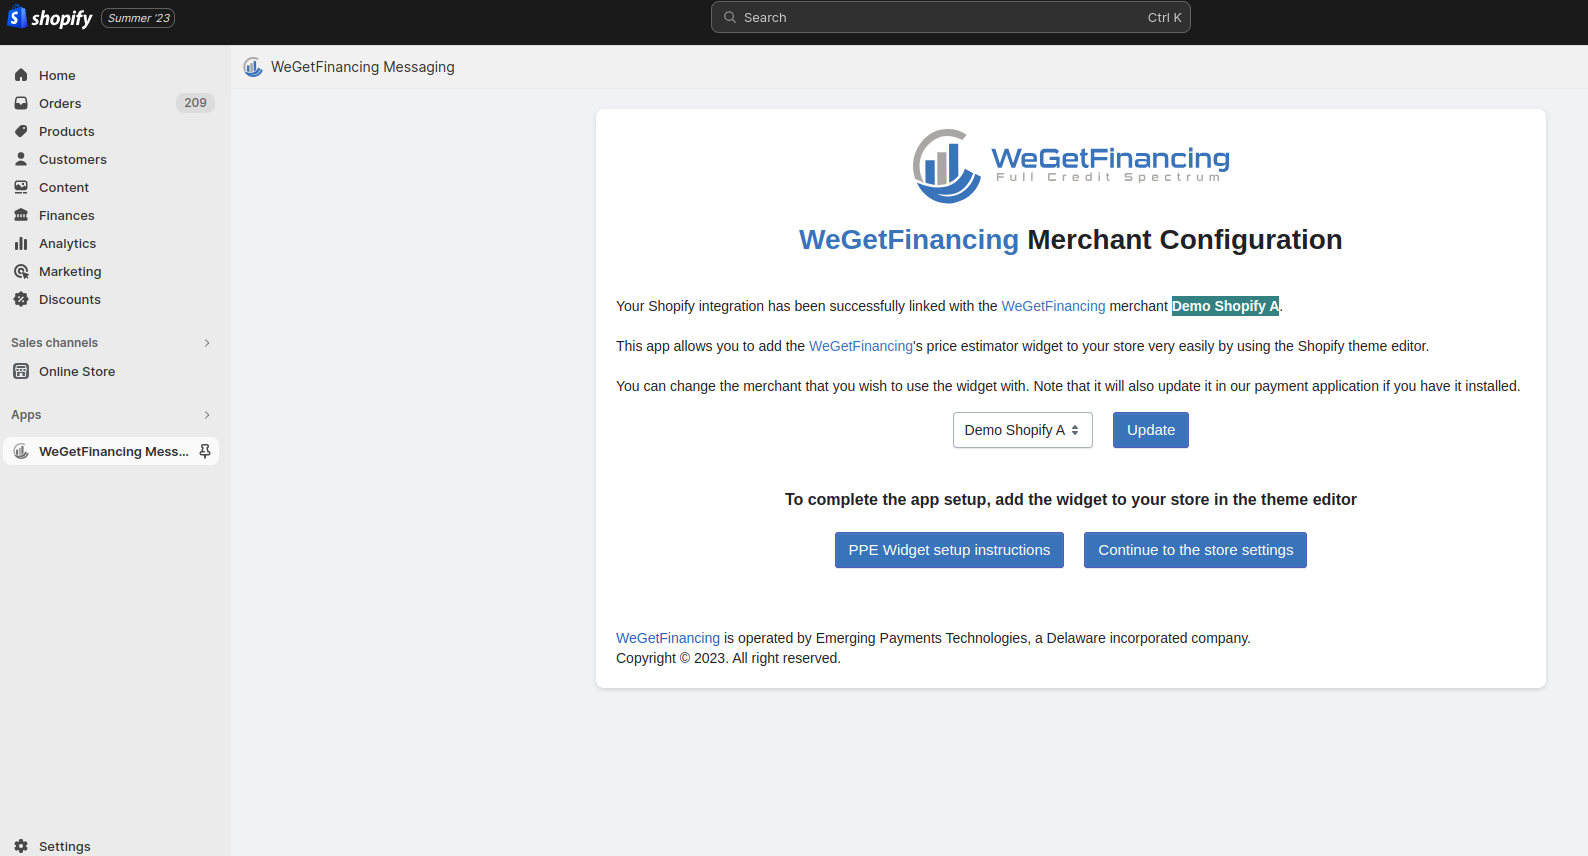
From the confirmation page you can click PPE Widget setup instructions to be redirected to the PPE setup tutorial, or Continue to the store settings to return to the Shopify dashboard.
Theme Editor — App Block (Product & Cart Pages)
Section titled “Theme Editor — App Block (Product & Cart Pages)”Use the App Block to add the widget to a specific product or cart page template.
-
In the theme editor, select the Product (or Cart) page template from the dropdown.
-
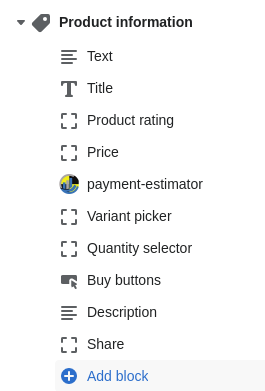
In the left column, find Product information → Add block.
-
Under APPS, click WeGetFinancing payment estimator.
-
Drag the block to just below the Price block for best visibility.
-
Configure:
- Minimum amount — widget hidden on products below this price.
- Custom text — text before the estimated monthly payment.
- Position — left / center / right alignment.
- Branding — show or hide the WeGetFinancing logo.
- Hover — open the popover on hover in addition to click.
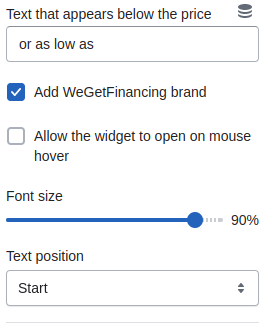
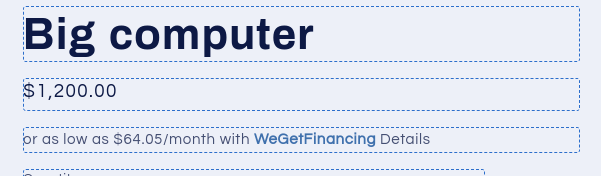
Once saved, the estimated monthly payment appears beneath the product price:
Theme Editor — App Embed (Home Page & Collections)
Section titled “Theme Editor — App Embed (Home Page & Collections)”Use the App Embed to display the widget across all pages that contain a matching price selector (e.g., collection pages and home page).
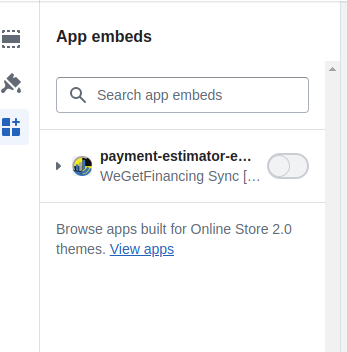
- Click App embeds in the theme editor’s left panel.
- Toggle on payment-estimator.
- Open its configuration pane:
- Price selector — CSS selector of the price element (default
.price-itemfor Dawn-based themes). - Minimum price — widget hidden on products below this threshold.
- Branding, custom text, and hover behave the same as the App Block.
- Price selector — CSS selector of the price element (default
The widget then appears across matching pages — for example, on each product in a collection:
Save & Remove
Section titled “Save & Remove”- Save — click the green Save button in the top-right corner of the theme editor.
- Remove — click Remove block at the bottom of the widget’s configuration pane. Uninstalling the app removes the widget from the entire store.
Performance impact
Section titled “Performance impact”The WeGetFinancing Messaging app was tested across the Home, Category, and Product pages with Google Lighthouse, in line with Shopify’s performance guidelines:
| Page type | Without app | With app |
|---|---|---|
| Home | 82 | 78 |
| Category | 83 | 79 |
| Product | 62 | 61 |
| Average | 73.8 | 71.1 |
The average impact is −2.7 points — well within the Shopify App Store requirement that an app not reduce a store’s Lighthouse performance score by more than 10 points.
Manual Theme Code Installation (deprecated)
Section titled “Manual Theme Code Installation (deprecated)”For legacy themes that don’t support Online Store 2.0 app blocks, add the following to a Liquid section file (e.g. featured-collection.liquid) before the {% schema %} tag:
<link rel="stylesheet" href="https://ppe.wegetfinancing.com/index.css"><style> /* Required for correct z-index in product collections */ .wgf-ppe { position: relative; z-index: 1; }</style><script>window.ppeConfiguration = { priceSelector: ".price-item", token: "YOUR_ACCESS_TOKEN", // from backoffice: Integration → Conversion Boosters minAmount: 500, branded: true, customText: "or just", hover: true, fontSize: 90, position: "center"};</script><script src="https://ppe.wegetfinancing.com/index.js"></script>